
Now pending on your district size, this could take some time but it’s also something you can train an assistant to do. Here is what I did. Since I have the new version of Google Maps, you need to go to the Settings gear in the top right corner and click “My Places”.
From there, you will want to create a map. Click the big red button that says “Create Map”.

Give it a title and you can begin to start place your placemarks on your map.

Select the blue placemark and drop it on the map at the bus stop location. From there, you can select a different icon in the top right corner if you would like. I have different colors for each route. Give a title to your placemark. I recommend you don’t use student names. From there, in the “Description” box, you can add other information that is relevant to your map. Press OK when you are done with editing.

When you are done placing all placemarks in your map, you should have a nice view of all your stops and routes. You can use the line tool to create lines for your routes or geographic regions. I’m not that fancy with my routes. Below you can see what an example map looks like.
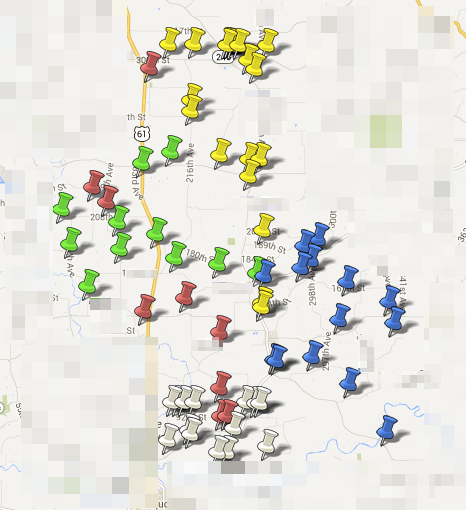
There are lots of fun things you can do in Google Maps (and Earth). This is only one administrative idea for folks to use.
No comments:
Post a Comment